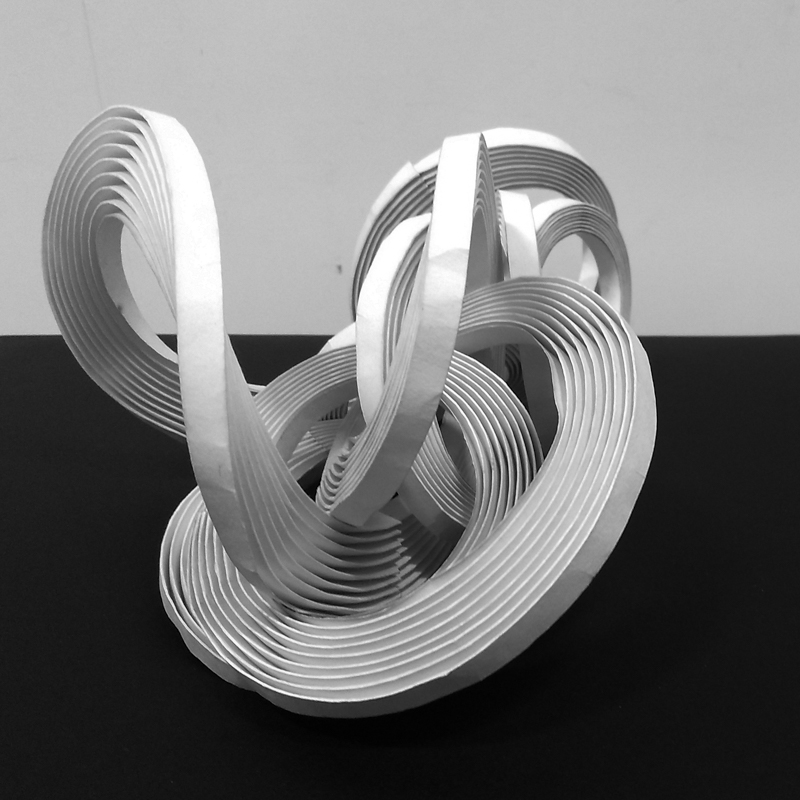
Paperfolding and Origami have been long time interests. At some point I stumbled onto curve-folding, with some nudging from one of my professors. Since then I have been playing with smaller pieces and following the work of masters like Erik and Martin Demaine on curved-crease sculpture, and of late, Richard Sweeney’s work.
Earlier I used to manually crease the curves, but once I had access to a lasercutter, I quickly figured out how to do a light enough cut that would allow me to crease the paper far more accurately. You’d think it would also be faster but I assure you, it is not.
I finally decided to challenge myself and create a bigger piece, latching onto an ongoing Foundation exercise with my students so I would not fizzle out.
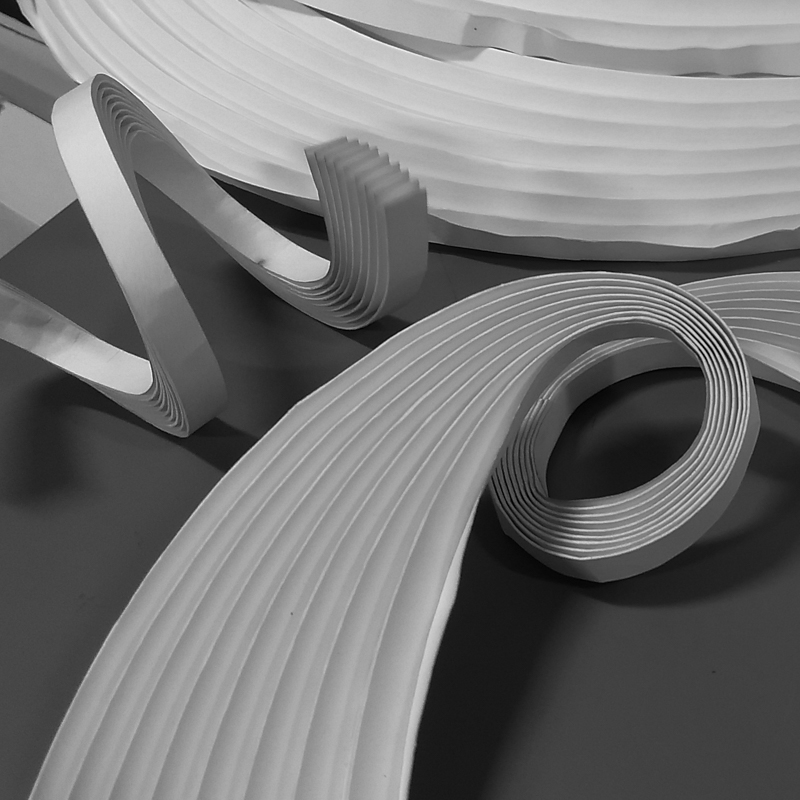
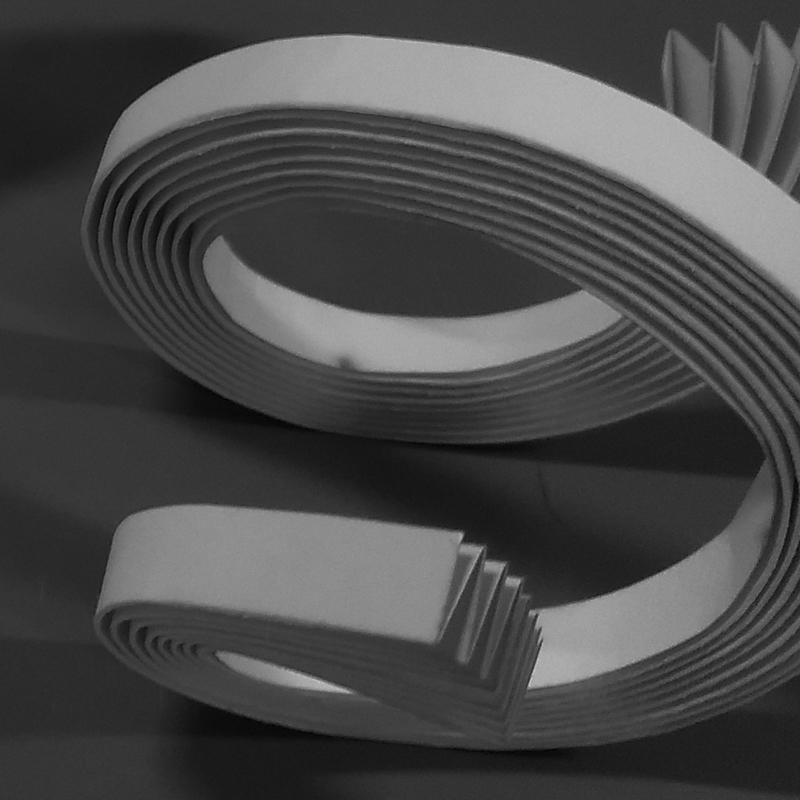
A couple of hours had me done with the vector drawings and the lasercutting. Then it was off to fold the individual modules for several hours over 2 days - much Netflix was consumed alongside. This too was the easy part.
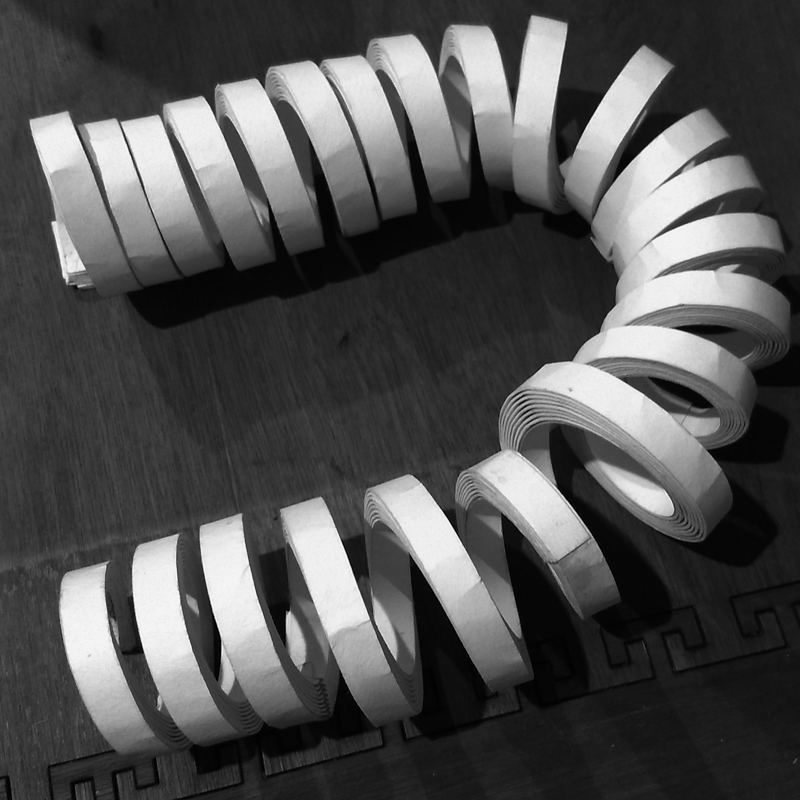
All the modules were matched and glued up into this giant spiral coil pleat, pressed and pinned down and finally turned upon itself and placed into a pateela of suitable size to set and dry. I might also have sprayed it with some water, I do that sometimes if the paper is too unwieldy.
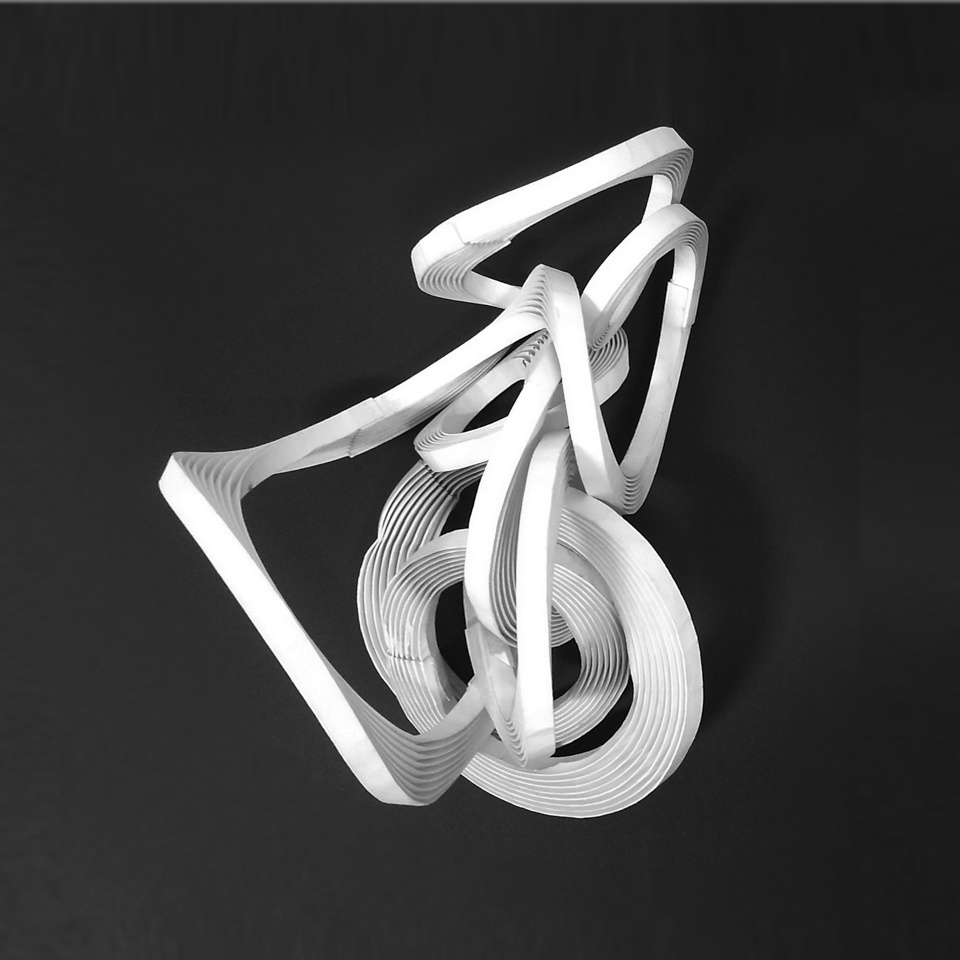
I had been worried since the spring coil stage didn’t look too interesting, but once the loop was closed, with a little prodding, and the interplay of gravity, tension, and the properties of the paper, the form started to bloom.
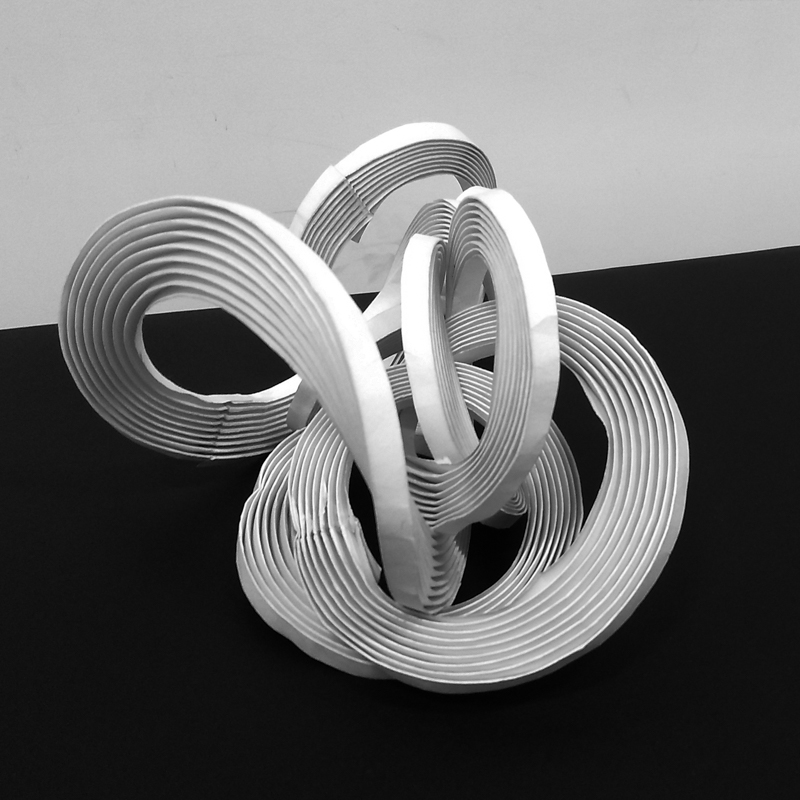
It’s turned out to be an interesting piece, and students were intrigued enough to keep turning it over and rearranging it in very many ways.
For future reference, I may have gone overboard with the number of individual modules and should probably use only half as many, for tighter, more tapering curvatures.

